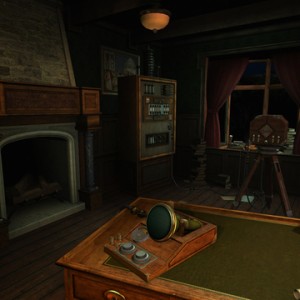
開発元 Fireproof Gamesの3Dグラフィックを利用した実際に現場にいるようなリアリティーのある
評価の高い謎解きアドベンチャーThe Room Three を攻略
前作The Room,The Room Twoと同様の操作方法でグラフィッククオリティとゲームボリュームが増えた謎解きを解決していこう。
オートセーブ機能でスロットを切り替えることで複数セーブが可能。
現バージョンでは日本語対応されていないが、解りやすい演出と簡単な英語のためプレイはしやすい。
旧作の攻略はこちら
脱出ゲーム The Room( ザ・ルーム) 攻略
The Room Two ルームツー 攻略
以下解答。ネタバレですので閲覧の際にはご注意下さい。
脱出ゲーム The Room Three ルームスリー 攻略記事一覧
-
中央のテーブルにある建物の前へ移動。
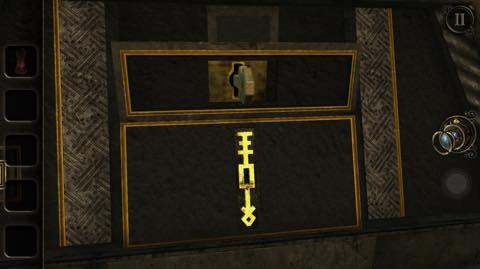
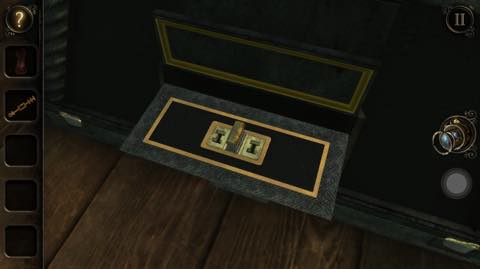
正面下の鍵穴へ「作った鍵」を差し込んで回転させる -
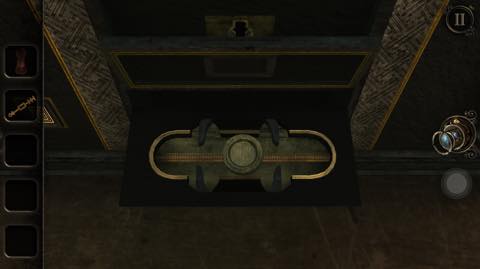
円形のパーツを左へ移動させる


-
画面を戻して建物の左側面へ移動。
「小さいコネクター」を手に入れる。

-
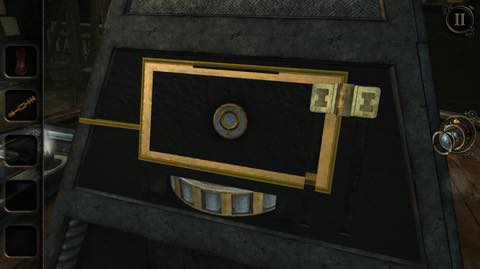
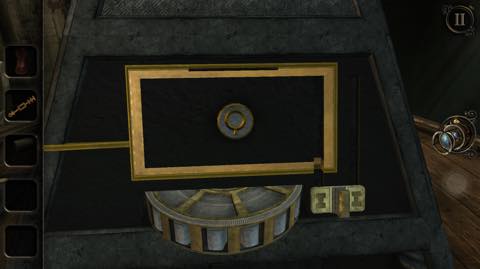
建物の右側面へ移動して
「小さいコネクター」を右上へ取り付ける。

-
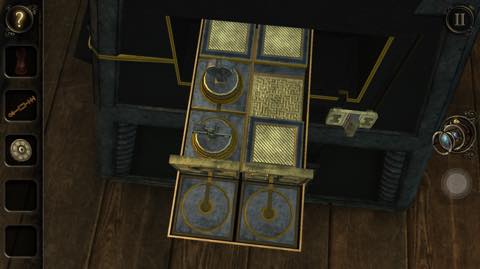
下にあるダイヤルを回転させてコネクターを下ろす
「ディスク」を手に入れる。

-
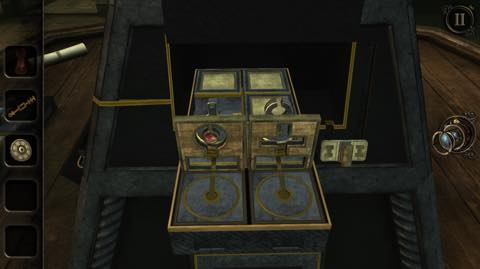
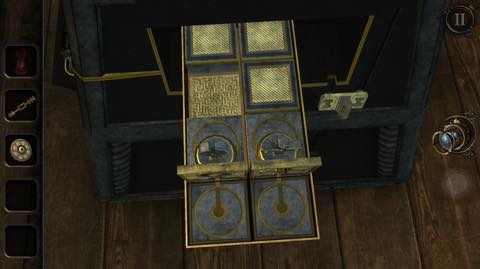
新しいパズルが出てくる。
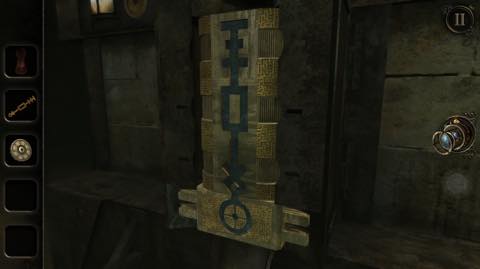
パネルをスライドさせて十字と円のパネルを位置を入れ替える。 -
「2つ目の鋳物」を手に入れる。

-
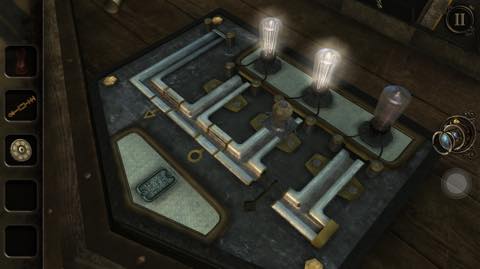
テーブルにある電球があるプレートを拡大。
くぼみへ「2つ目の鋳物」をはめる。

スイッチを中央の電球の前へ動かす。
-
中央のテーブルにある建物の前へ移動。
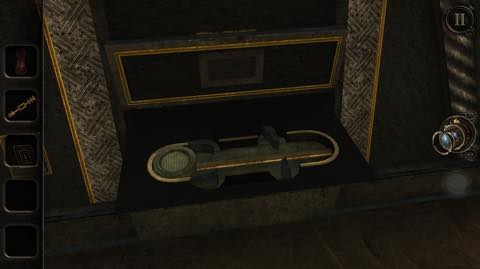
円形のパーツを右へ移動させる

-
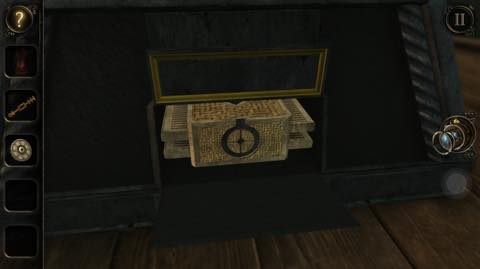
建物の右側面をタップして拡大
下段から「金属のブロック」を手に入れる。

-
炉の前へ移動。
型の一番下へ「金属のブロック」をはめる

-
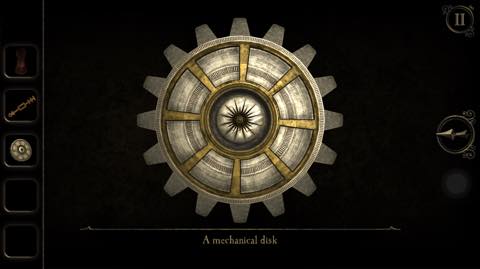
アイテム欄で「ディスク」を開く。
中央を回転させて歯車にする
- The Room Three チュートリアルChapter
- The Room Three Chapter1-1
- The Room Three Chapter1-2
- The Room Three Chapter1-3
- The Room Three Chapter1-4
- The Room Three Chapter1-5
- The Room Three Chapter1-6
- The Room Three Chapter1-7
- The Room Three Chapter2-1
- The Room Three Chapter2-2
- The Room Three Chapter2-3
- The Room Three Chapter2-4
- The Room Three Chapter2-5
- The Room Three Chapter2-6
- The Room Three Chapter3-1
- The Room Three Chapter3-2
- The Room Three Chapter3-3
- The Room Three Chapter3-4
- The Room Three Chapter3-5
- The Room Three Chapter3-6
- The Room Three Chapter3-7
- The Room Three Chapter4-1
- The Room Three Chapter4-2
- The Room Three Chapter4-3
- The Room Three Chapter4-4
- The Room Three Chapter4-5
- The Room Three Chapter4-6
- The Room Three Chapter4-7
- The Room Three Chapter5-1
- The Room Three Chapter5-2



コメント